

An OBD (On-Board Diagnostics) power cable is a plug and play solution that draws power directly from your vehicle's OBD port. It’s the easiest way to enable 24 hour parking monitoring without the need for complex hardwiring to the fuse box.
We’ve prepared a detailed step-by-step installation guide. You can watch the full video tutorial here: [Link to YouTube]

Locating the Port: OBD port locations vary by vehicle model. (Refer to the distribution diagram below).

Our Test Vehicle: For this demonstration, the OBD port is located directly above the brake pedal.

This is what the OBD port looks like.

Installation: Insert the plug as shown in the video.
Secure Connection: Ensure the plug is pushed all the way in for a stable connection.


Pro Tip: Check the OBD Dip Switch Diagram to ensure your settings (such as voltage cutoff) are correct for your vehicle.

Cable Management: Gently tuck the cable into the door’s rubber weatherstripping/seal for a clean, hidden look.

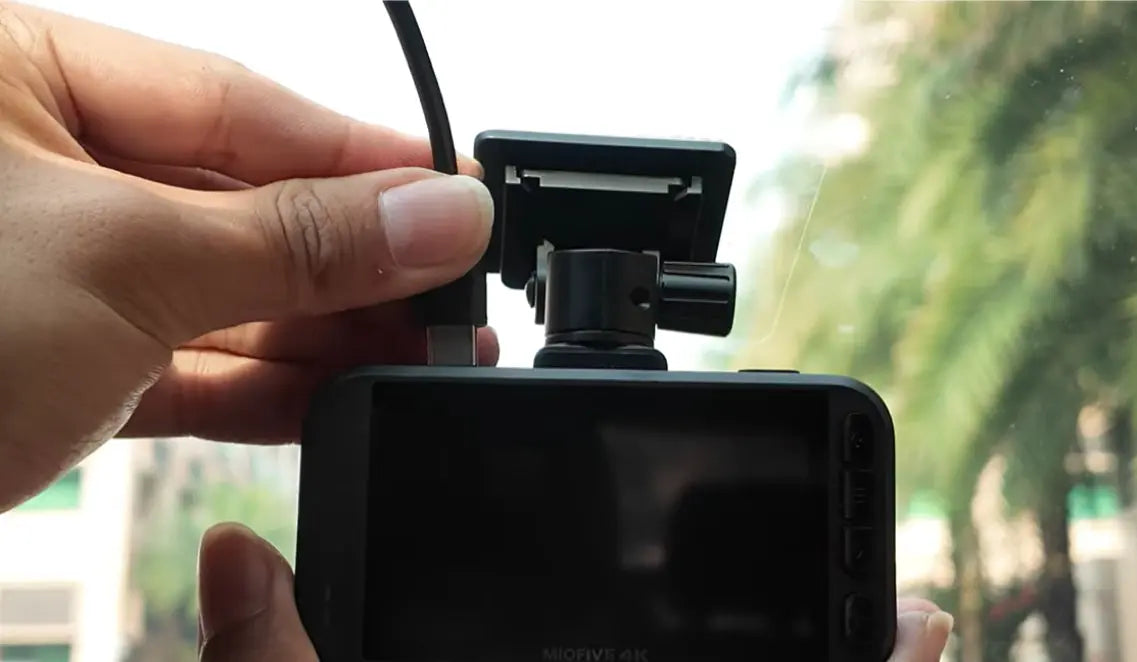
Final Step: Plug the other end into your dash cam and power it on. Installation complete!

Share:
How to Fix OTA Firmware Update Failure
Miofive S1 als „Testsieger“ bei den Auto Express Product Awards 2026 ausgezeichnet